Clay Studio

Clay Studio

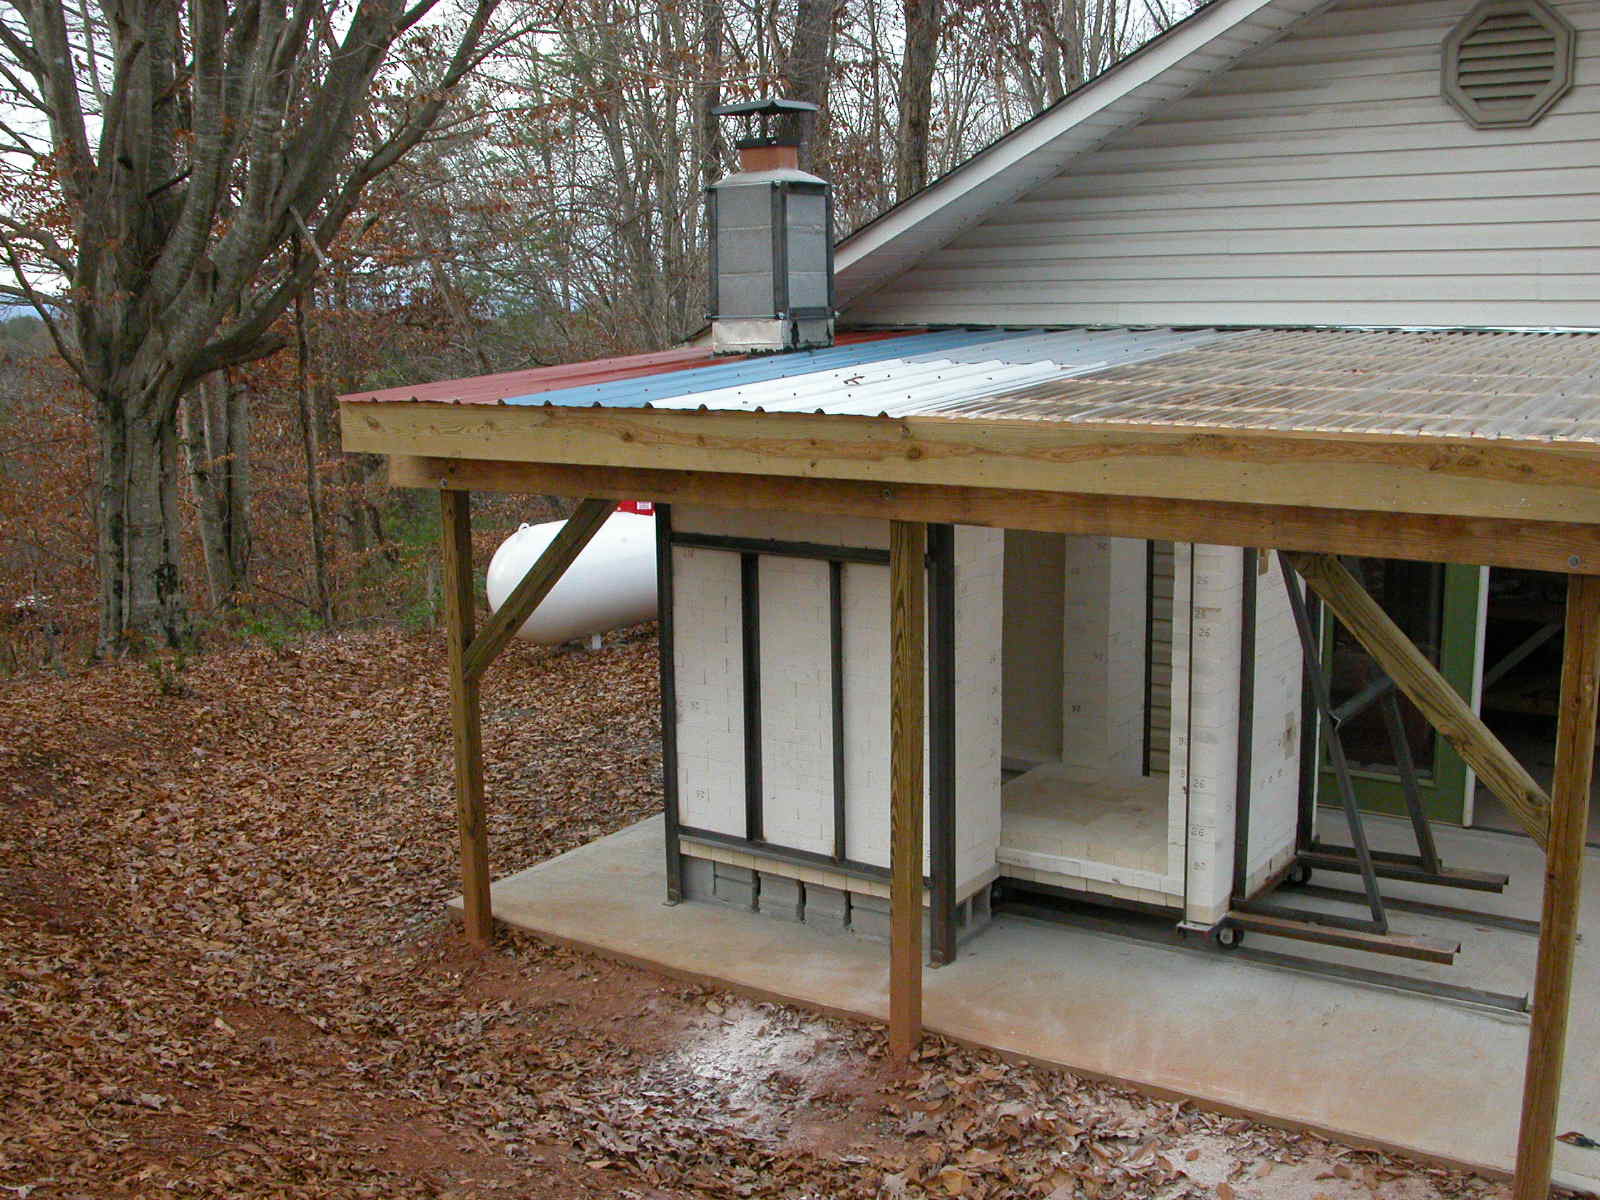
Chimney is finished and roof is on!


The chimney is finished and the roof is attached.  Having different colored roofing wasn't my first choice, but it was all that was left, and I wanted to get the roof finished sooner than later.  The part of the chimney above the roof was made from chimney flue and block, mortared together.  The bottom block, closest to the roofing was flashed to prevent leaking around the chimney.  Angle iron was welded around the corners for added protection.  It sure is great to have a roof over our heads, and not have to deal with covering the entire project with large pieces of plastic.

Building The Chimney

The chimney has to be completed in order for the roof over the kiln can be finished.  It will be a relief to have the roof done, as we've had to protect the kiln with pieces of plastic and tarp.


Notice the hard brick laid on the interior of the chimney stack.  That's to give a solid base for the chimney flue to sit on.

Tom is cutting flashing to fit around the block so that when the roof is placed, the flashing can be attacked to the steel roof to prevent any water from coming through.

The top of the last chimney block is mortared shut.

Attaching Angle Iron


Tom cuts and welds an angle iron frame to envelope the entire kiln.  The door of the kiln is also secured from the top with angle iron and a steel rod.  This will keep it in place at all times.

Building Up The Walls, Phase 2


The walls of the kiln are stacked along with the chimney.  We cut a clay shelf to span across the bricks where the damper will sit.

View of Lower Walls


We've built up the kiln walls, thus far.  You can see how the floor of the kiln fits flush when it is pushed all the way in.


Here's a view of the chimney going up with the back wall.  Every 4-5 rows, we tied the chimney in, by continuing the brick over into the wall, for added support.


Here's the back view of the kiln, with chimney.

Lower Layers of Walls


Note the detail work necessary to get a good fit on lower part of kiln.  We'll start to build the lower walls of kiln, then switch over to completing the door.  A hole was drilled in the steel to screw and bolt in a vertical steel rod that will run alongside the door in order to secure it in place, once it is up.


Once the first layers of brick have been layed, we pushed the car out of the kiln to start building up the lower walls.  Using insulating soft brick is quick to stack - no mortar!  Note where there are darker bricks above the burner ports.  Those are hard brick used for extra support.  You can also see where the angle iron tracks end inside the kiln.

Building Up The Walls


Now it's time to start building up the walls around the floor, while taking the chimney up at the same time.  While stacking the first rows of wall bricks, we had to continuously push the floor in and out to make sure it was a tight fit, and at the same time slide in and out, easily.  The walls are stacked with 2 layers of K26 insulating soft brick, and the chimney is built with K23's.  The chimney, or course does not get as hot as the kiln itself, so using K23's was a more affordable option.