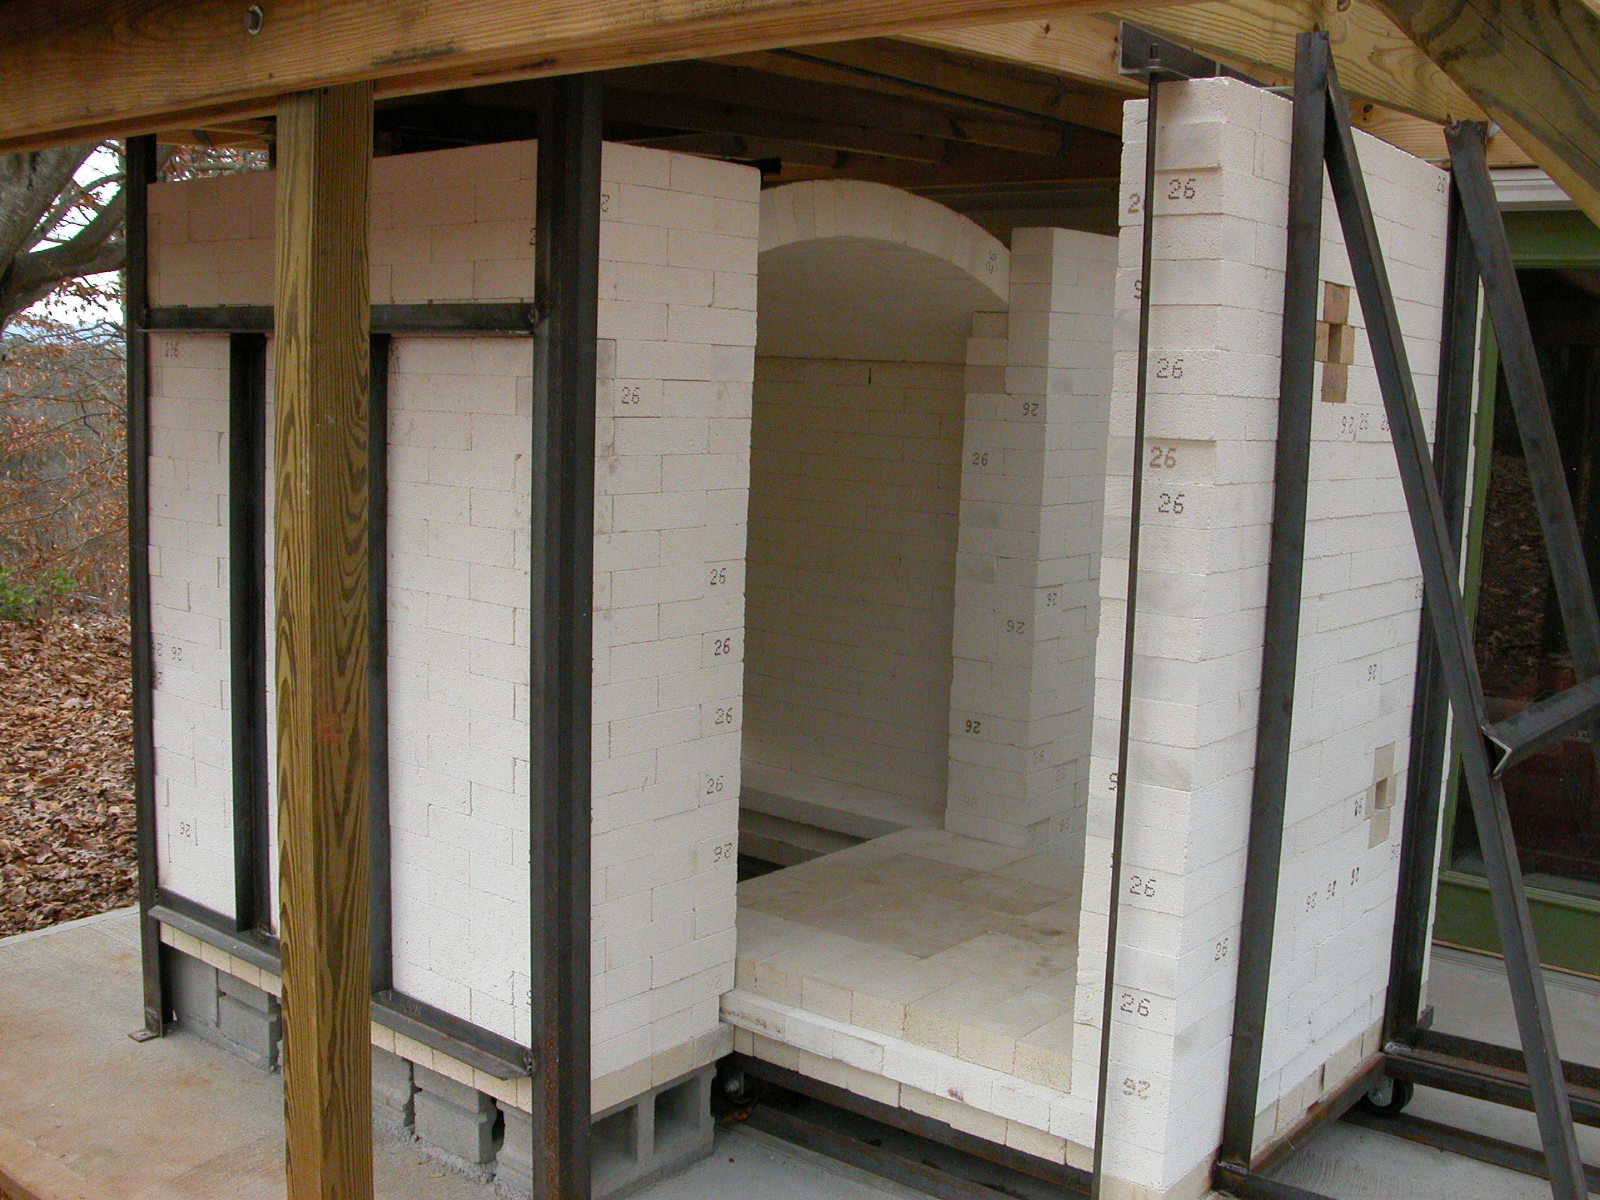
The construction of the kiln is finished! The arch is up and looks beautiful! Notice how tightly the door closes against the wall of the kiln. It really took some shaving of brick - a very vital step to having a tight seal for a safe, efficient firing.
The burner system is real simple. We used a pair of "Big Bertha" burners, black pipe, and a couple of gauges. Tom swears by these burners. Says they burn more efficient than any burners he's ever used - and he should know!
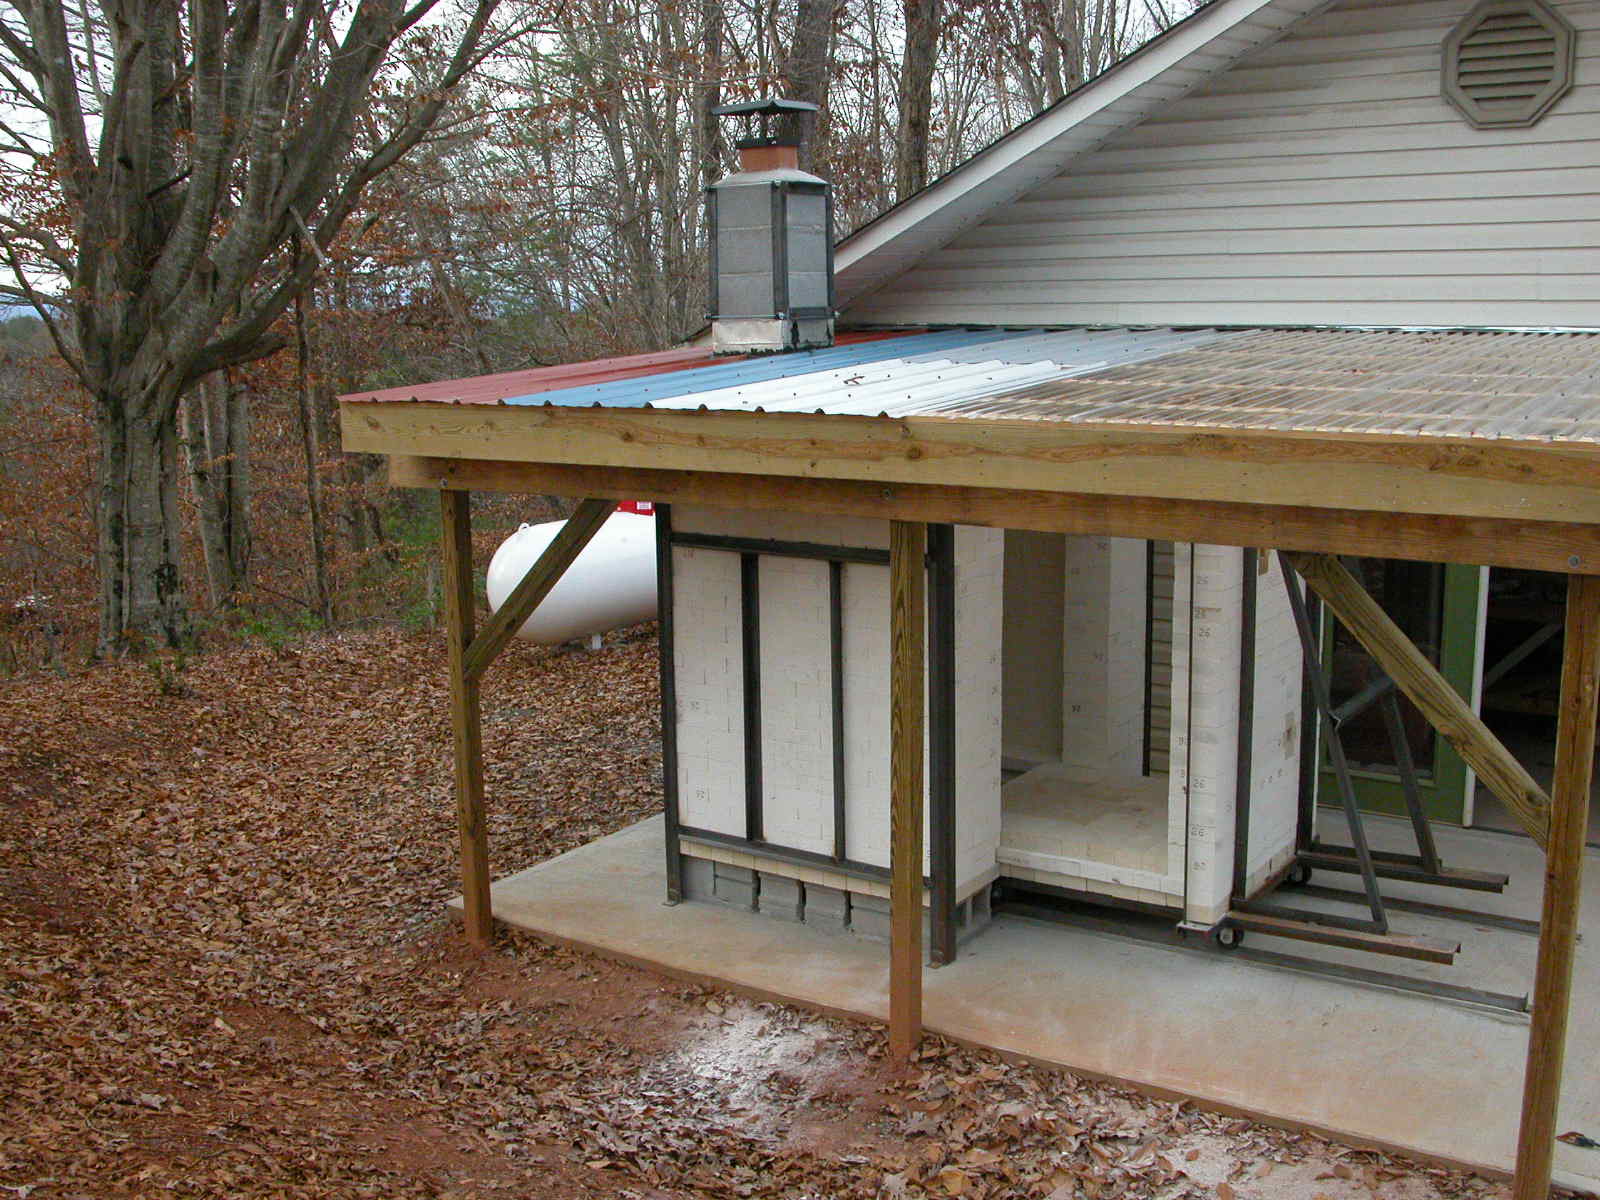
The last thing that needs to be done is to have the propane company come and hook up a pipe line from the propane tank to the union, with a 10 lb. regulator. I''ll be setting up an appointment to have that done this week.
Right now, I"m making a bunch of smaller pieces to fill the kiln for the first firing. Hopefully, I'll then feel confident enough to fire the lion dogs in the next firing. Stay tuned!